Designing your artwork online
You must be able to provide your own artwork in the advised format. Our print system has been designed to be used by a professional designer, or someone who is computer-literate.
If you do not have access to a designer you can use our online drawing app to design your artwork yourself from scratch. You can create your artwork from scratch using the app and you can import any images or logos you wish to use in your print and add text, lines or shapes.
Alternatively, we also offer an in-house design service, using any logos, images and text you send us to create a finished piece of print-ready artwork.
Adding artwork
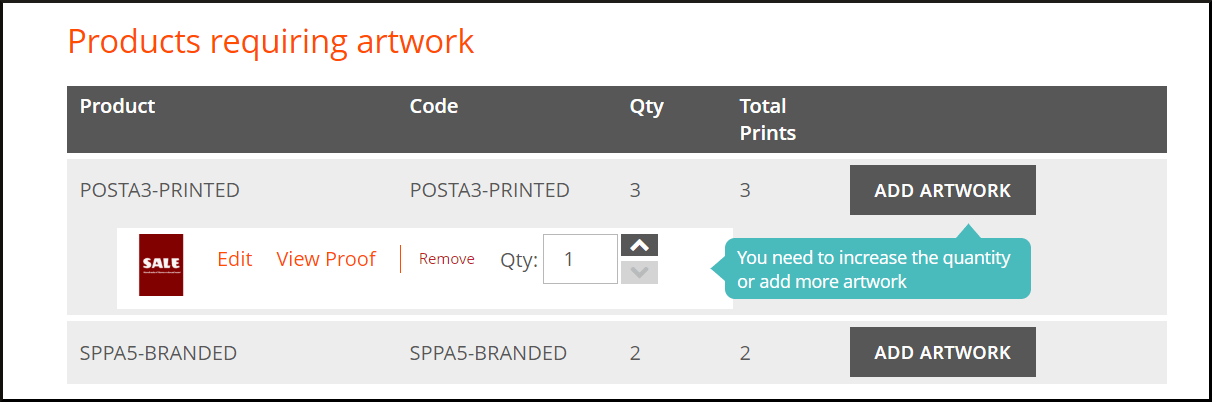
For each printed product you’ve purchased you can upload unique artwork. If you’ve bought several identical products you can choose whether you have the same artwork printed for use in each one, or a unique print in each one.
To use the same print in each product, click “ADD ARTWORK” and select the maximum quantity of units, then upload or design your artwork. To use different prints in your products, select the quantity, then upload and design your artwork, then click the “ADD ARTWORK” button again to add extra prints.
Adding an image or logo
You can add one or more images to your artwork using the Image tool. You'll need to ensure any images you upload are the right size and DPI so they look their best when printed. The original aspect ratio will be maintained.
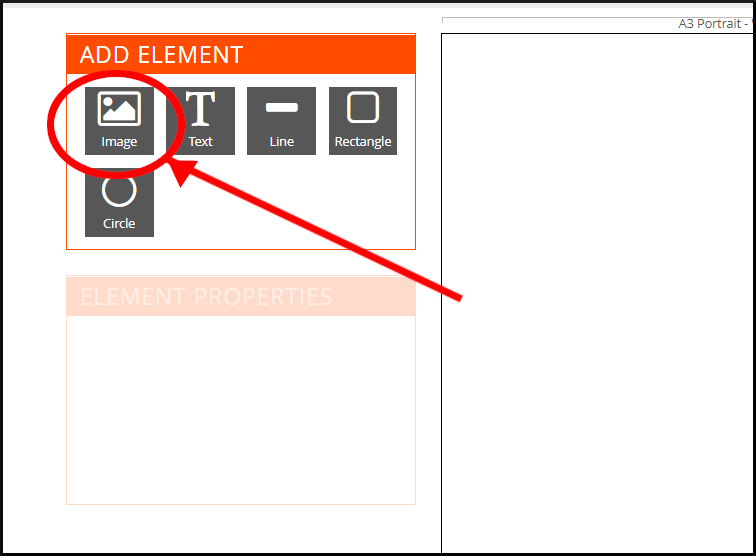
1. Click the Image tool which is located on the far left of the Add Element panel.
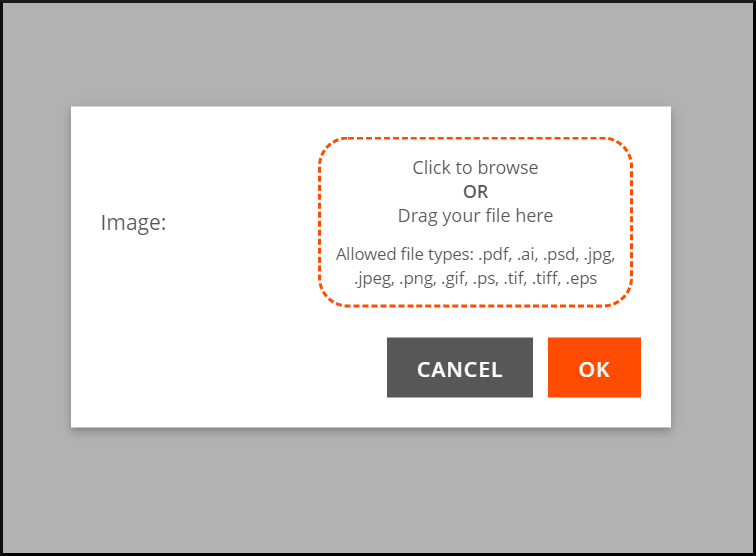
2. Click the dotted area and select your image. Upload time may vary, depending on internet connection speed.
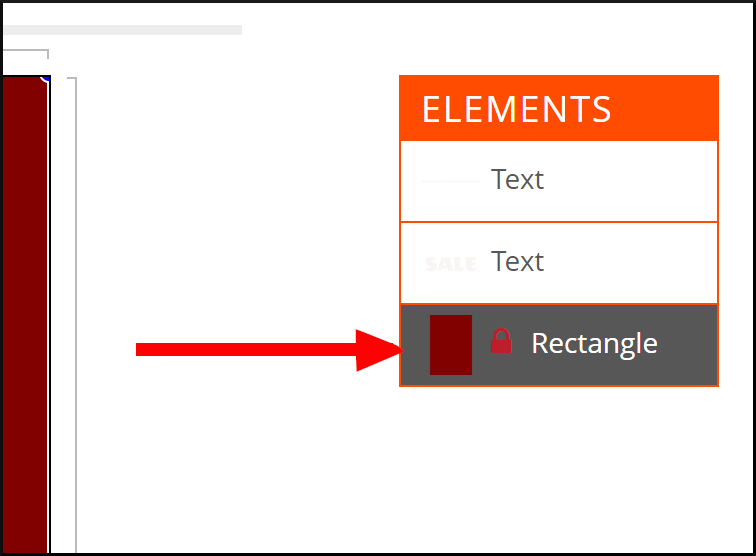
Adding a coloured background
You can use the Rectangle tool to add a coloured background to your artwork. Use the Lock Position feature to fix this in place so it's unaffected by layers placed on top.
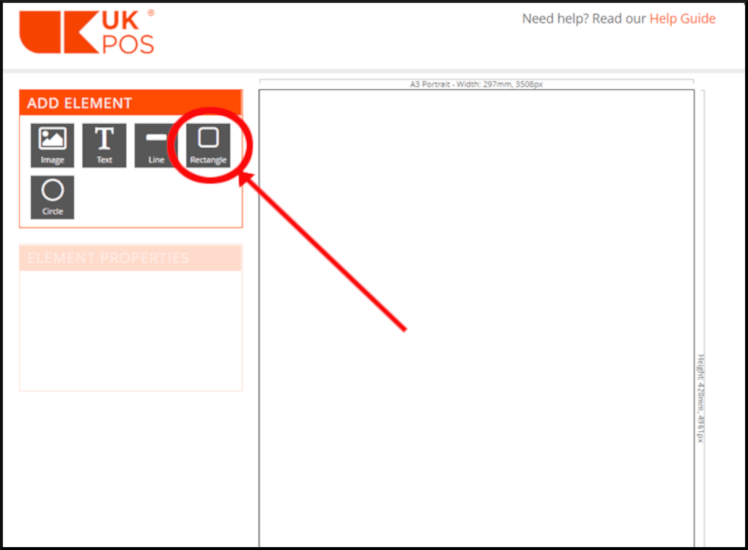
1. To add a background, click the Rectangle tool in the Add Element panel.
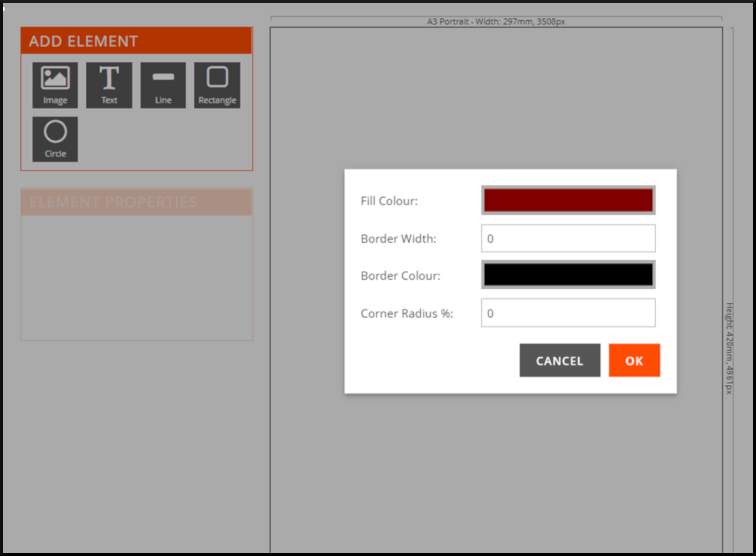
2. Click the Colour bar and select or enter your desired colour. Click OK.
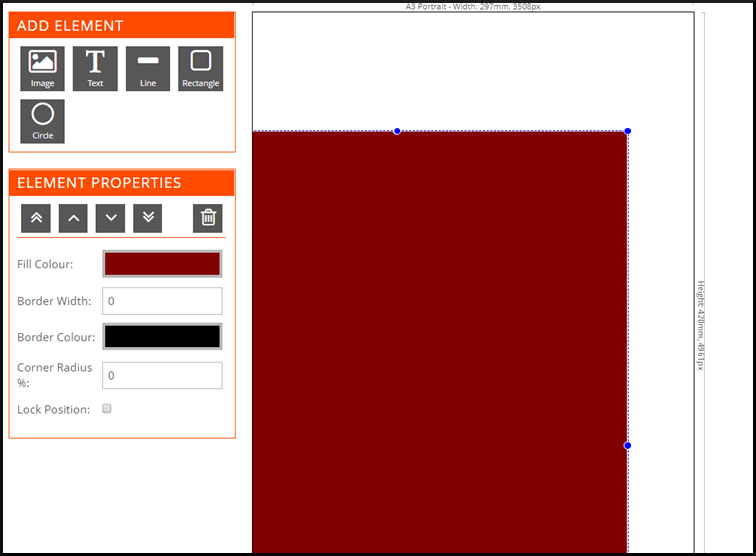
3. Click and drag the corners of the rectangle to fill your canvas.
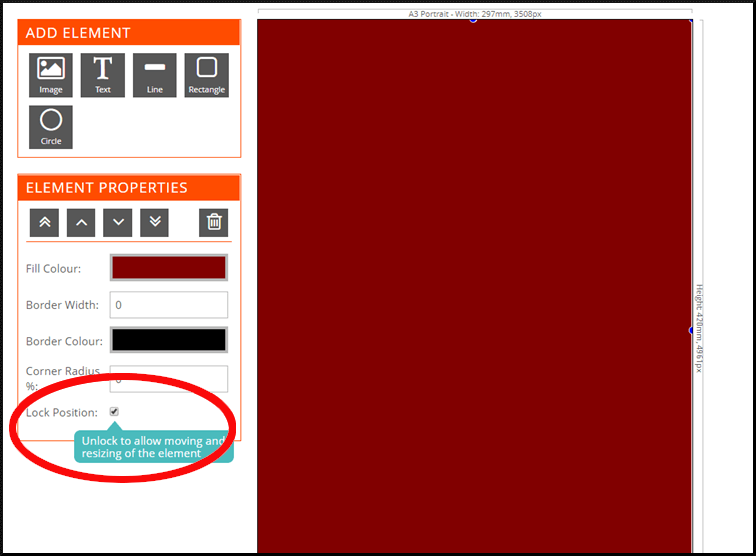
4. In the Element Properties panel, select Lock Position.
Adding text
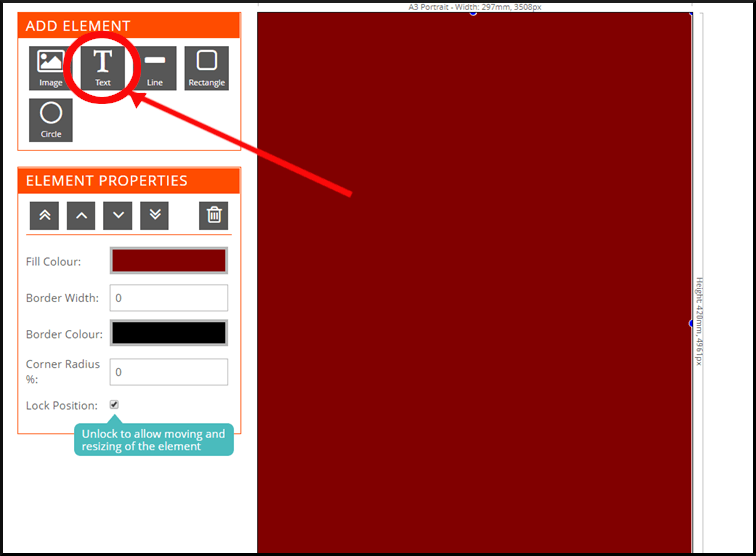
1. Click the Text tool from the "Add Element" panel.
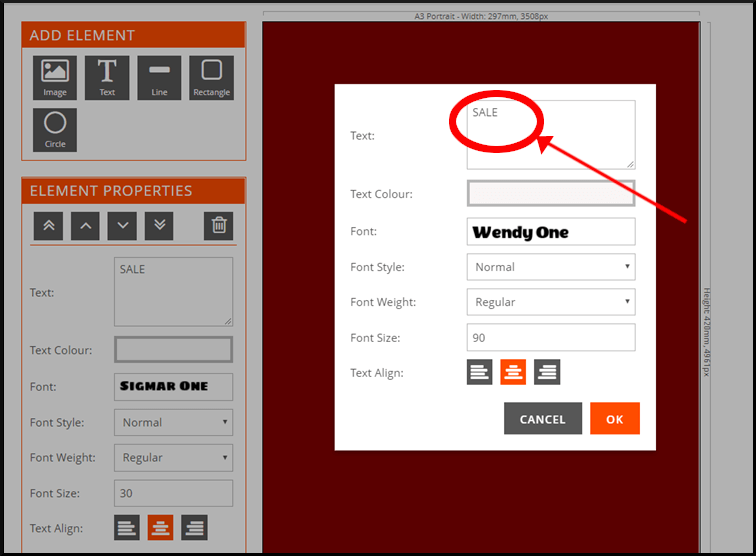
2. Enter in the box the text that you wish to display.
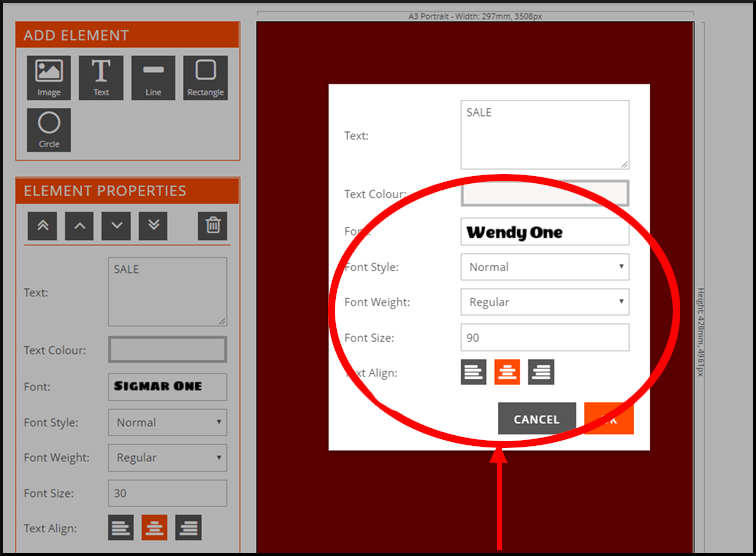
3. Amend the font, colour, size, style and alignment of your text.
Editing text
- To edit an existing text box, go to the Elements panel and click the matching Text.
- Go to the Element Properties panel and change the settings.
- Your changes will appear in a second or two.
Moving the position of an element
To move an element, such as a shape, an image or a text box, click the name of the element in the Elements panel.
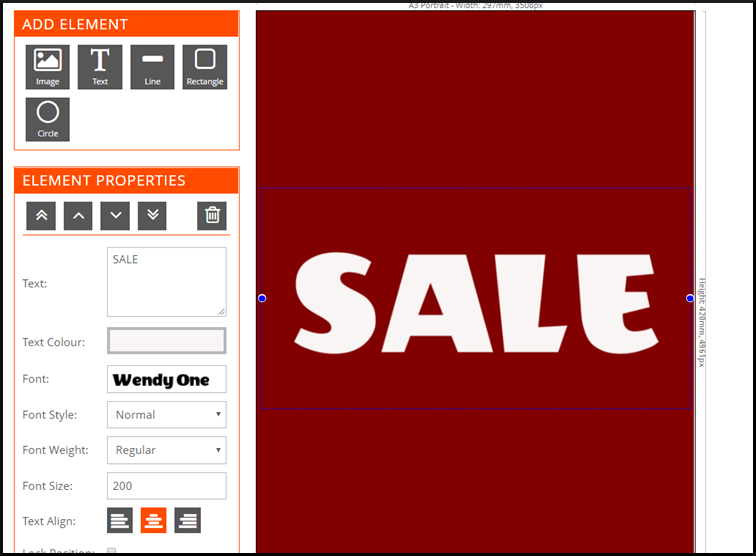
You can now click on the element and drag it to whichever new location you wish.
Moving an element forward or back
1. Go to the Elements panel and select the name of the element layer that you want to move forward or backward.
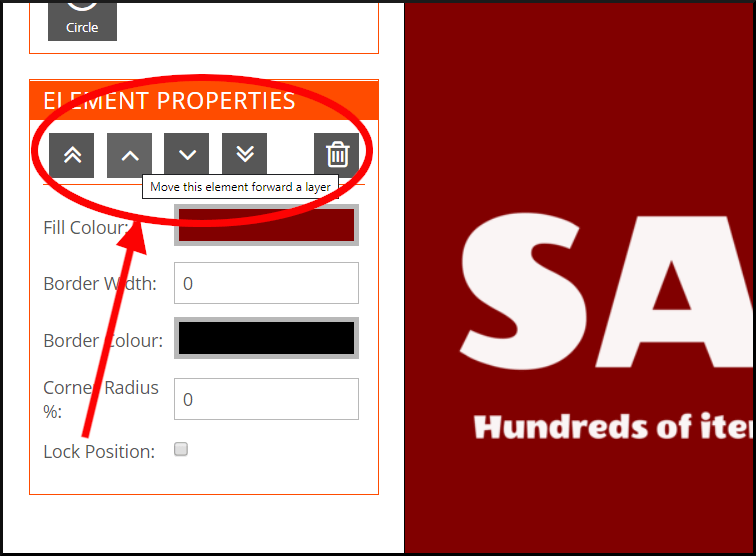
2. Click the Forward or Backward button to move the element forwards or backwards one layer.
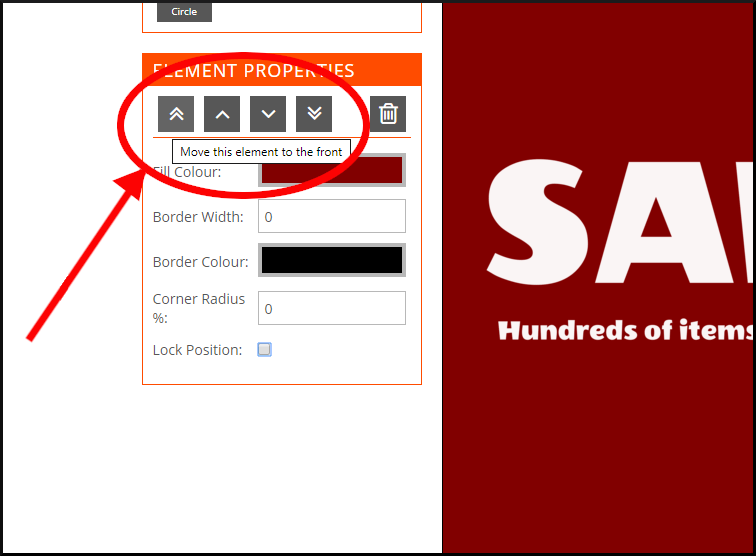
3. If you have multiple layers, you can use the To Front and To Back buttons to move the item all the way to the back or front.
Deleting an element
- Go to the Elements panel and click the name of the element you want to delete.
- Go to the Tools panel and click Delete to remove the element from you artwork.
Deleting your artwork
- If you wish to delete your artwork and start designing again from scratch, go to the Elements panel and click each element to select it.
- From the Tools panel, click Delete and the element will be removed from the canvas.
- Work through the elements listed in the Elements panel until you have deleted them all and you will be left with a blank canvas and can start designing again.